How to Create a Non-Admin User and give them Access to an Application
Assuming you are logged in as a user with rights to set up new users and groups, I am logged in as an Administrator in the following examples.
- 1. Navigate to the System Tab, then select Security under the Administration Section.
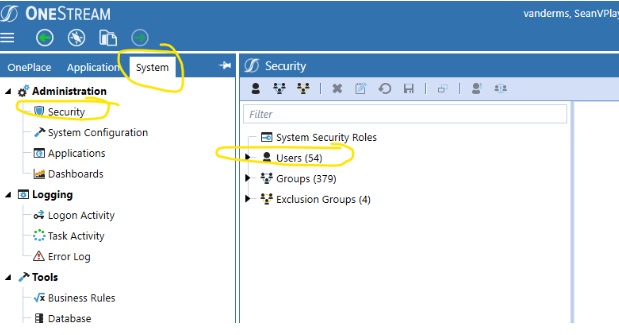
- 2. From there, select the New User from the top left of the dashboard. This will populate a dashboard on the right with properties that can be set for the new user.
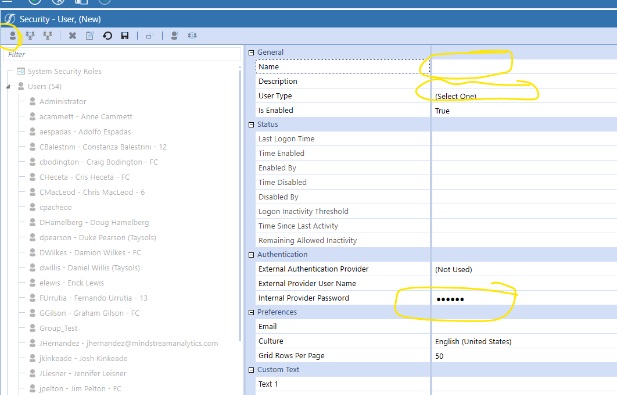
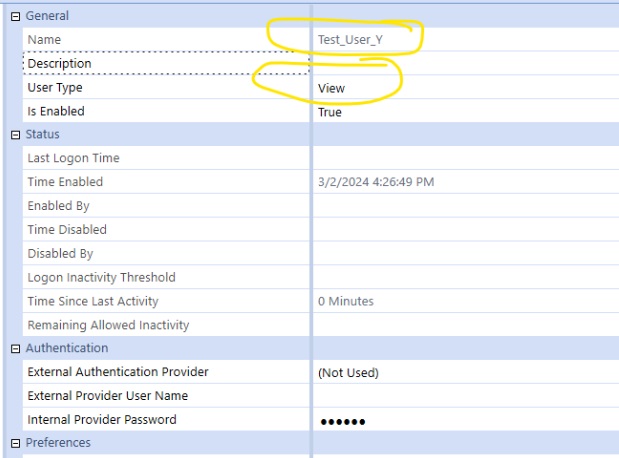
At this point you have created a new user. Now they need to be assigned to a group that has access to the application.
- 4. To create a group if you don’t already have one, from the same security dashboard that you created a user on, click on the create group button and give the group a name.
- 5. Now assign your user to the Group by clicking on the button that looks like a person in the middle of the dashboard then navigate, in the pop up dashboard, to your user that you just create. Select the user and then click on the arrow to move them to the right panel in the popup dashboard. 
- 6. Next, you must assign this newly created group to a security role with access to the application. From the Application Tab, under tools, select “Security Roles” 
- Then, select the ellipses to the right of the “openapplication” security role. From the Popup navigate to your Security Group, select it, then click “OK”
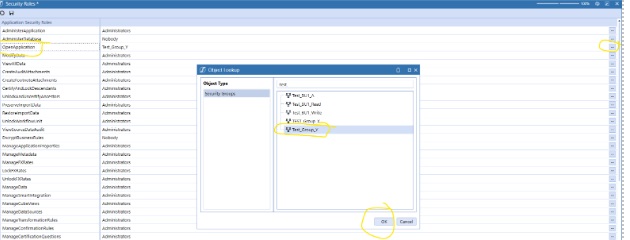
Now your security group will be assigned to the security role of “OpenApplication”
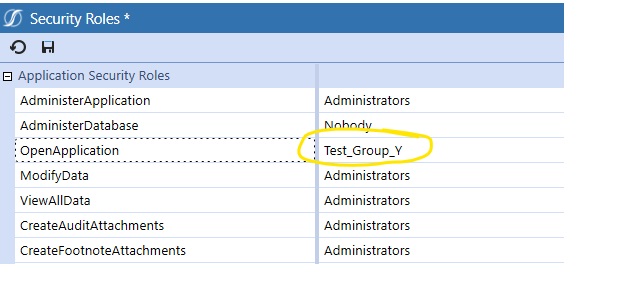
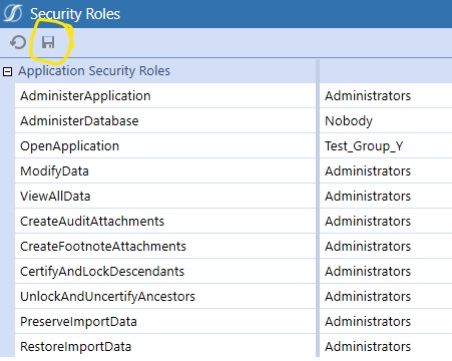
- 8. Remember to click on the “Save” button after assigning the Security Role.
Now when this user connects and logins to OneStream they will see the application in their list.
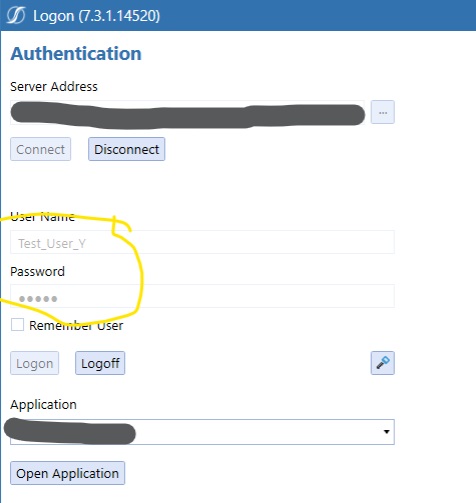
With access to the OnePlace Tab.